
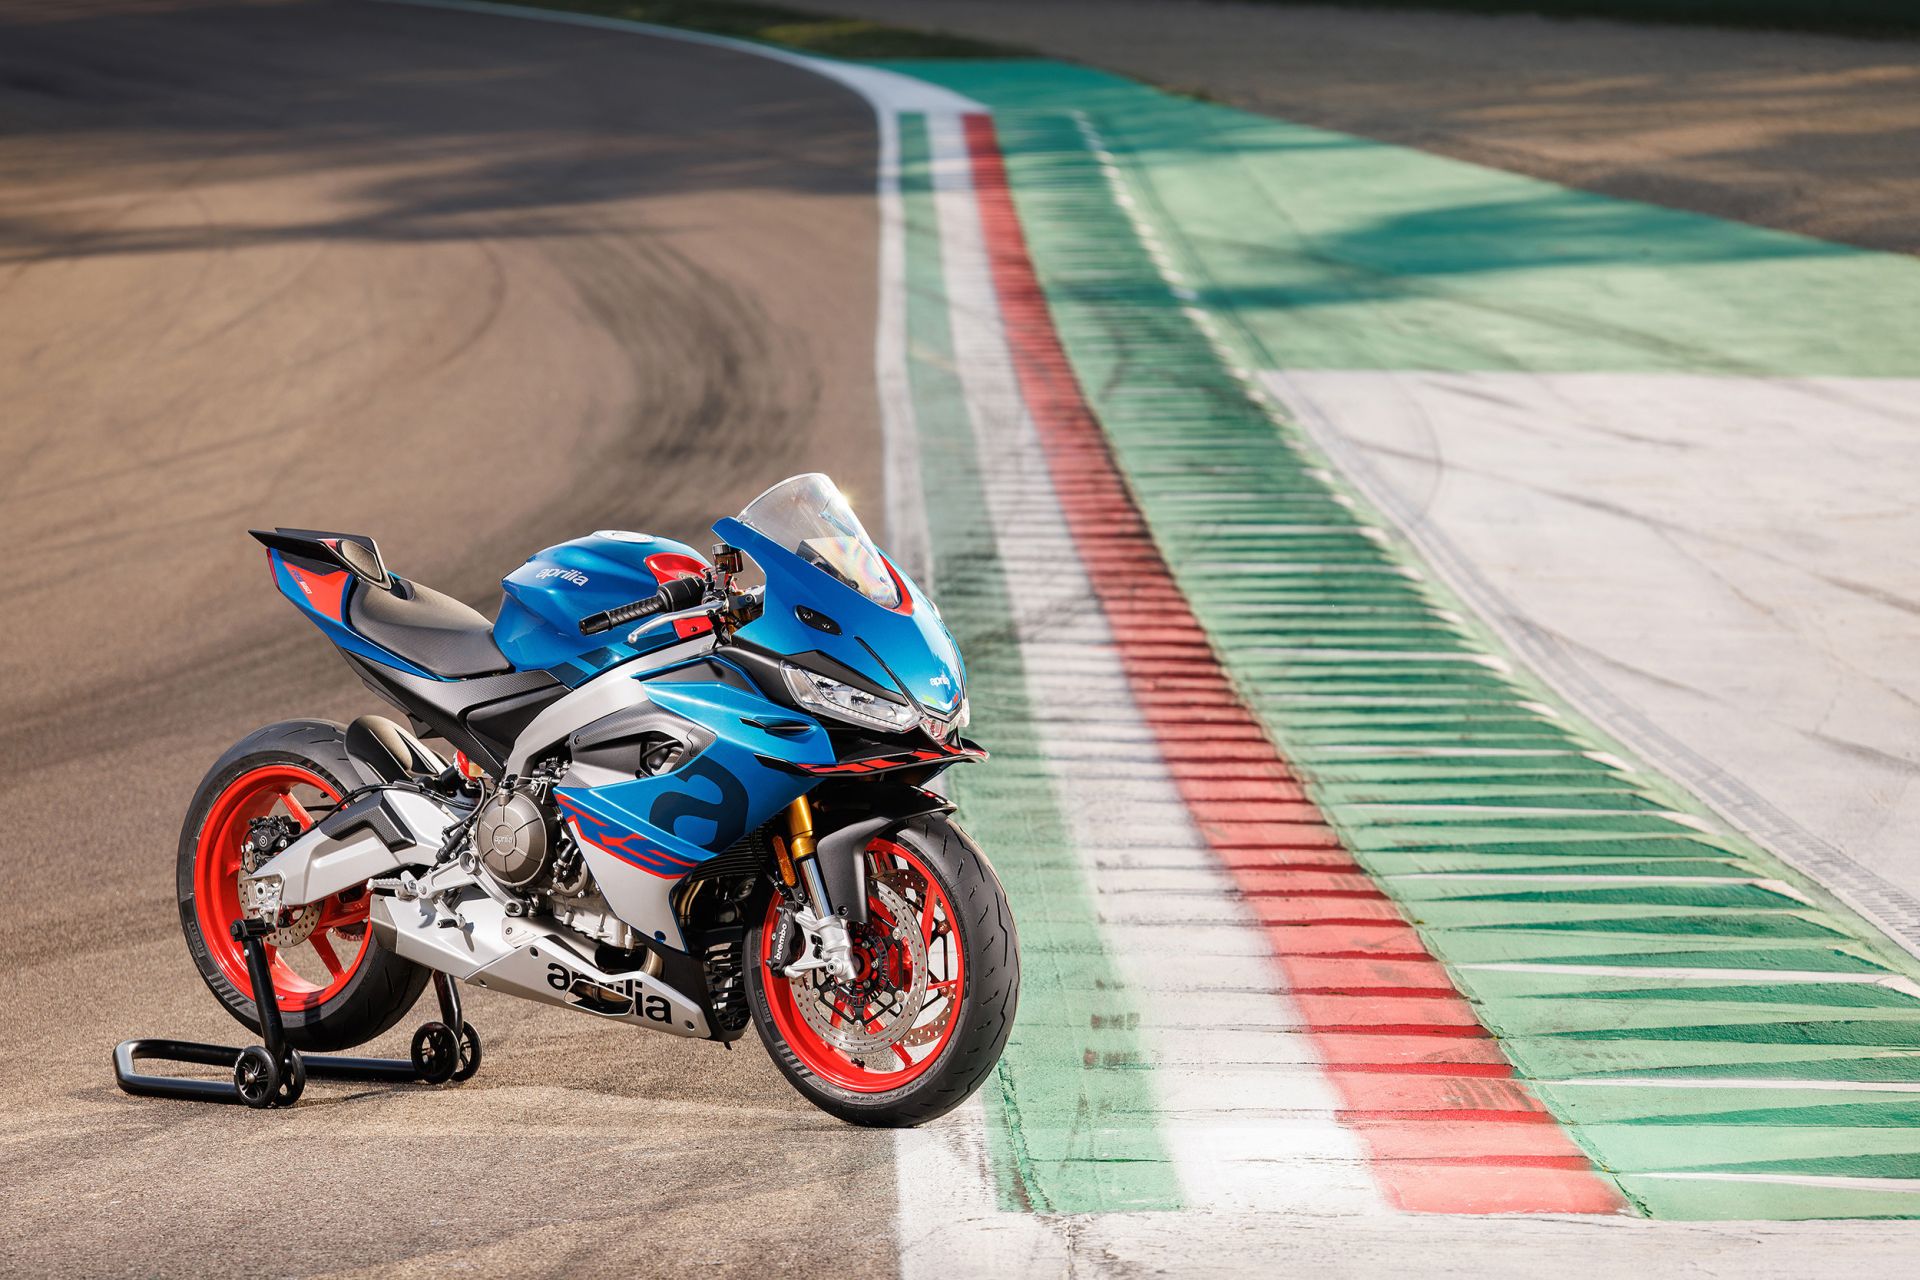
Motorcycle fairings are more than just aerodynamic covers; they define the bike’s look and personality. Over time, factory paint can fade, chip, or get scratched from road debris, crashes, or simply age. Repainting your fairings motorcycle parts is one of the most rewarding DIY projects for riders looking to refresh their ride or create a custom design without spending thousands at a professional shop. Whether you’re restoring stock colors or going for a bold new scheme, this guide covers everything from preparation to final polishing comprehensive beginner steps.
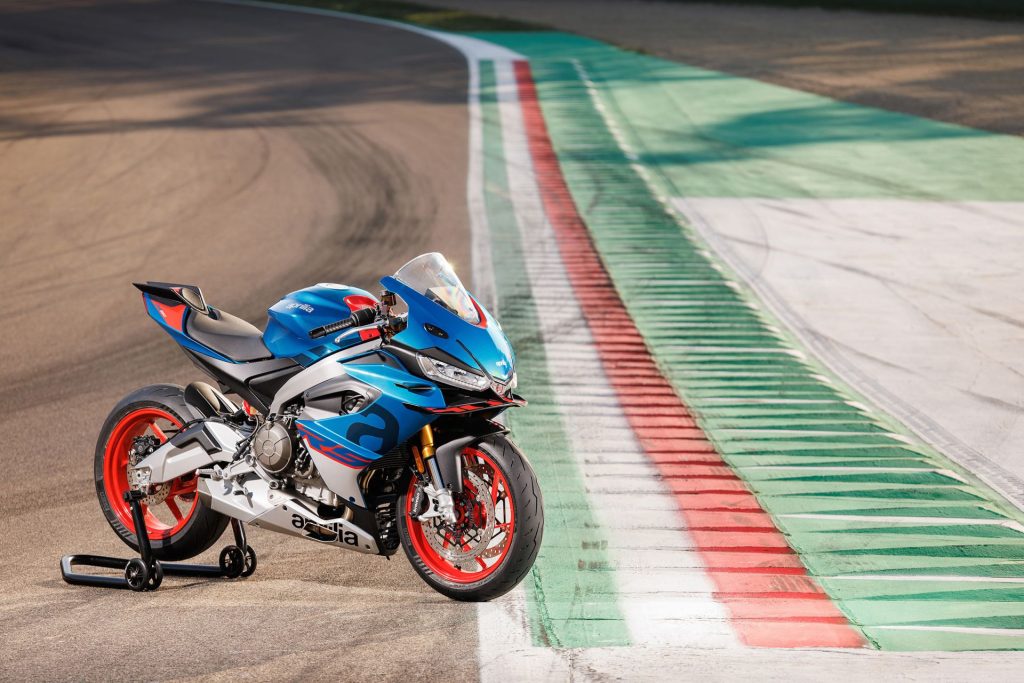
Painting fairings requires patience and attention to detail because they are typically made of ABS plastic, which demands proper surface preparation for paint adhesion. Skipping steps often leads to peeling, cracking, or an uneven finish. With the right tools, materials, and techniques, you can achieve professional-looking results at home. This article provides a step-by-step process tailored for both beginners using rattle cans and those with spray gun setups.
Why Paint Your Own Motorcycle Fairings?
Customizing or restoring fairings motorcycle offers several advantages. It saves money compared to professional services, which can cost $800 or more. It allows full creative control over colors, graphics, and finishes. Plus, it’s a satisfying hands-on project that deepens your connection to your bike.
However, success depends on preparation. Poor prep is the “$800 mistake” many DIYers make—rushing leads to paint failure within months. Following a structured approach ensures durability against UV rays, fuel spills, and road conditions.
Tools and Materials Needed
Gather these essentials before starting:
- Safety gear: Respirator (organic vapor rated for 2K paints), safety goggles, nitrile gloves, coveralls.
- Cleaning: Dish soap/hot water, wax & grease remover, microfiber cloths, rubbing alcohol, tack cloths.
- Sanding: Wet/dry sandpaper in grits 320, 400, 600, 800, 1000, 1500, 2000 (and optionally 3000 for polishing). Sanding block or DA sander.
- Repair: Plastic filler or welder kit for cracks, body filler for dents.
- Painting: Plastic/adhesion promoter primer, sandable primer, base coat paint (2K urethane or quality acrylic), 2K clear coat. Rattle cans or HVLP spray gun + compressor.
- Other: Masking tape/paper, paint mixing cups, strainer, blower or compressed air, polish compound, buffer (optional).
Choose compatible products from the same system (e.g., SprayMax 2K for rattle cans or PPG for guns) for best results. Budget: $100–$400 for materials.
Step 1: Removal and Thorough Cleaning
Remove the fairings from your motorcycle using the appropriate tools (Allen keys, sockets). Label and bag all hardware by location. Work in a well-ventilated area, ideally a garage or outdoor space protected from dust and wind. Cover the bike with a tarp.
Clean the fairings with hot soapy water and a sponge to remove dirt and grime. For stubborn residues like engine oil, use a degreaser or wax/grease remover. Wipe with rubbing alcohol on a scouring pad. Remove any stickers or decals with heat from a hairdryer. Rinse thoroughly and let dry completely. Any contaminants will cause “fish eyes” or poor adhesion.
Step 2: Repair Damage and Initial Sanding
Inspect for cracks, scratches, or dents. Repair cracks from the backside with plastic welder or epoxy, then fill with plastic bonder. Sand repairs flush.
Dry sand with 320–400 grit sandpaper to remove old paint, clear coat, and gloss. Sand in circular or back-and-forth motions until the surface feels dull and uniform. Progress to 600–800 grit for smoothness. This “keys” the surface for primer. Wipe dust frequently with a blower or tack cloth. Expect this to take several hours for a full set.
Step 3: Priming the Fairings
Priming is critical for plastic fairings. Apply a plastic adhesion promoter first if needed. Then spray 2–3 light to medium coats of sandable primer, allowing flash time (10–15 minutes) between coats. Follow manufacturer instructions for mixing (especially 2K products).
Let primer cure (2–4 hours or per label). Wet sand with 1000–2000 grit to level imperfections. Clean thoroughly again. A good primer base prevents delamination and fills minor flaws.
Proper surface preparation and material selection are critical pro prep and materials comparison.
Step 4: Applying the Base Color Coat
Design your scheme in advance—solid colors are easiest for beginners; graphics require masking. Mix paint per ratios and strain it.
Apply thin “tack” coat first, then 3–5 medium coats with 50% overlap, keeping the gun/can 6–10 inches away. Use even strokes, starting and stopping off the panel to avoid buildup. Allow flash time between coats. Multiple thin layers build depth better than one heavy coat.
For rattle cans and general application, this approach works well for budget DIY with spray cans budget DIY with spray cans.
Step 5: Clear Coating for Protection
After base coat cures (2–4+ hours), apply 2–3 coats of 2K clear coat. This provides UV protection, chemical resistance, and depth. Follow the same technique as base coat.
Let everything cure fully—24–72 hours minimum, ideally a week before handling extensively. Early reassembly can cause sticking or damage.
Step 6: Wet Sanding, Polishing, and Finishing
Wet sand the cured clear coat with 1500–2000–3000 grit to remove orange peel or imperfections. Use soapy water and light pressure. Clean, then polish with compound and a buffer or cloth for a mirror finish.
Reinstall fairings carefully, using thread locker on bolts. Test fit everything before riding.
Common Mistakes and Troubleshooting
- Peeling/poor adhesion: Insufficient sanding or cleaning. Strip and restart.
- Runs/sags: Too much paint per coat. Sand flat and recoat.
- Orange peel: Wrong distance, temperature, or reducer. Wet sand and polish.
- Fish eyes: Contamination. Clean better next time.
- Fading: Inadequate clear coat or poor quality materials.
Always prioritize safety—2K paints contain isocyanates that can cause respiratory issues. Use proper ventilation and PPE.
Advanced Tips for Professional Results
- Set up a temporary paint booth with plastic sheeting and fans for dust control.
- Practice on scrap or old parts first.
- For graphics, use vinyl masks or stencils between color coats.
- Consider environmental factors: Paint in a dust-free space with stable temps around 60–80°F (15–27°C).
- Maintenance: Wash with mild soap; avoid harsh chemicals. Polish periodically.
For more background on the role of fairings, check out this helpful resource from our site: What is a Motorcycle Fairing?
Motorcycle Rental: Explore Without the Hassle
If painting your own fairings sounds like a big commitment or you simply want to test different motorcycle styles before investing in custom work, consider motorcycle rental. Renting allows you to experience various bikes with factory or custom fairings on scenic roads without long-term maintenance worries. It’s a fantastic way to enjoy the thrill of riding while deciding on your next personalization project. Whether for a weekend adventure or extended tour, rental options provide flexibility and peace of mind.
Painting fairings motorcycle transforms your bike and hones your skills. Take your time, follow the steps, and you’ll be rewarded with stunning, durable results. Ride safe!